
The 5 Most Common Mistakes When Installing a Towel Rail (And How to Avoid Them)
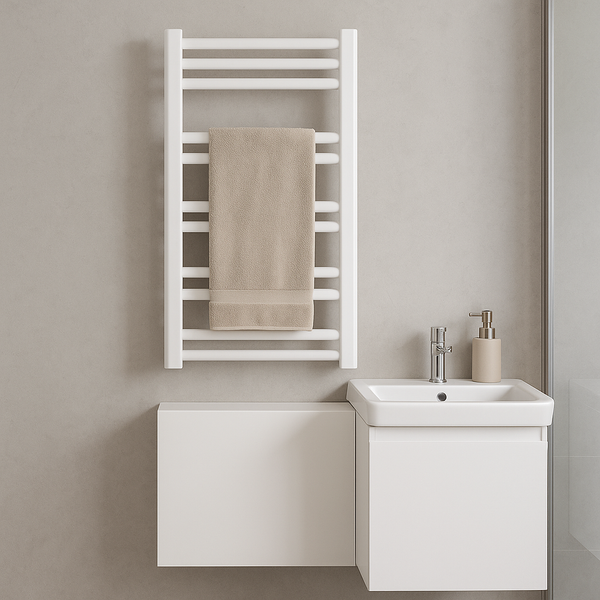
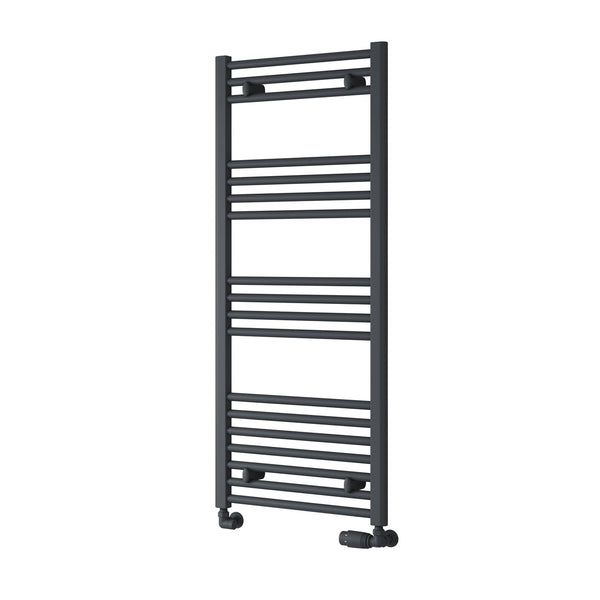
Installing a new heated towel rail can completely transform a bathroom, adding both style and the unbeatable comfort of warm towels. It’s a popular project for DIY enthusiasts across the UK. However, what seems like a straightforward job can quickly go wrong if a few critical steps are overlooked. A small mistake during installation can lead to leaks, an inefficient radiator, or even damage to your walls and floors.
At Companyblue, we don't just supply high-quality towel rails; we want to ensure they are fitted perfectly. To help you achieve a flawless installation, we've compiled a list of the five most common mistakes we see people make and, more importantly, how you can easily avoid them. Let's make sure your project is a success from start to finish.
Quick Note: This guide covers both central heating and dual fuel installations. For purely electric models, always refer to our electrical safety guide and hire a qualified electrician.

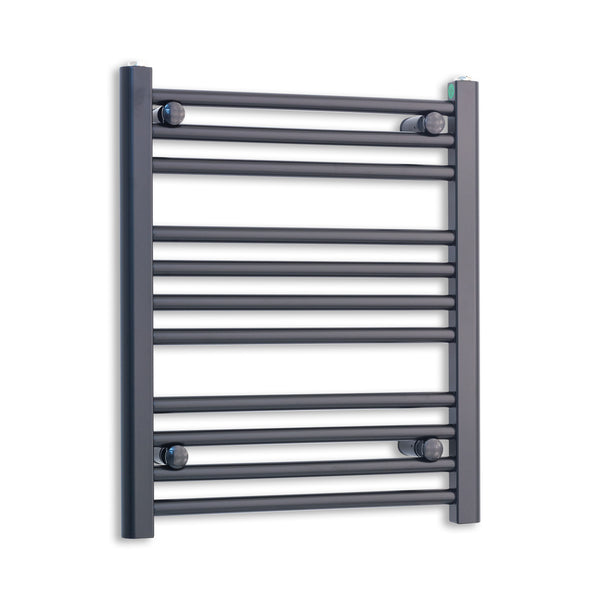
Mistake #1: Using the Wrong Wall Fixings
This is arguably the most common and dangerous mistake. A heated towel rail, filled with water and laden with wet towels, is incredibly heavy. Many UK homes have plasterboard walls, which have very little structural strength on their own. Using the standard, small plastic wall plugs that might come with a basic toolkit is a recipe for disaster.
The Consequence: The fixings will pull out from the soft plasterboard core, causing your expensive new towel rail to fall off the wall. This can lead to a broken radiator, severe water damage, and a smashed bathroom floor or suite.
How to Avoid It: You MUST use the right fixing for your wall type.
- For Plasterboard: The best practice is to locate the wooden studs behind the plasterboard and screw the brackets directly into them. If that's not possible, you must use heavy-duty plasterboard fixings like Spring Toggles, Hollow Wall Anchors, or high-capacity GripIt® fixings. These are designed to spread the load over a wide area behind the board.
- For Masonry (Brick/Block): Use high-quality, long wall plugs and coach screws appropriate for the weight.
- For "Dot and Dab" Walls: Use specialised long fixings designed to bridge the gap between the plasterboard and the blockwork behind.
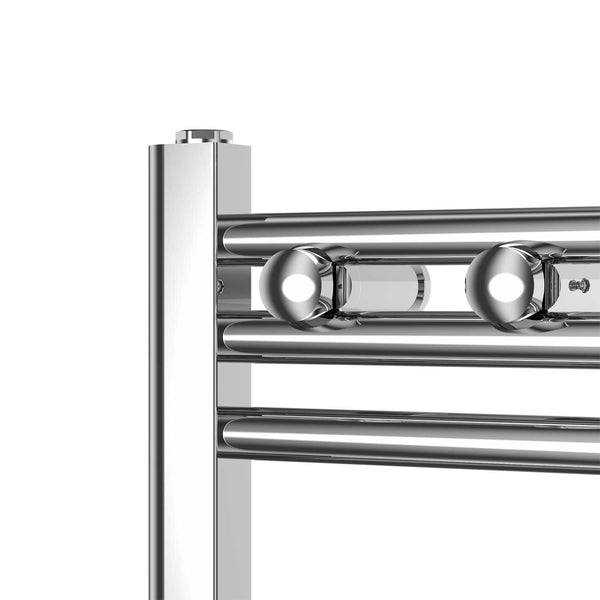
Mistake #2: Not Using Enough PTFE Tape (or Using it Incorrectly)
PTFE tape (also known as plumber's tape) is a thin white tape used to create a watertight seal on threaded pipe joints, such as the 'tails' that screw into the towel rail itself. Many people either forget to use it, don't use enough, or wrap it in the wrong direction.
The Consequence: A slow, persistent, and frustrating leak from the valve connection. This can go unnoticed for days, damaging your floor, ceiling, and subfloor, and leading to costly repairs.
How to Avoid It: Always use PTFE tape on the male threads of the valve tails. Wrap the tape tightly in a clockwise direction (the same direction you will tighten the fitting) for about 5-7 full rotations. Wrapping it clockwise ensures the tape tightens into the joint as you screw it in, rather than unravelling. The tape should create a snug fit when you screw the valve tail into the rail.
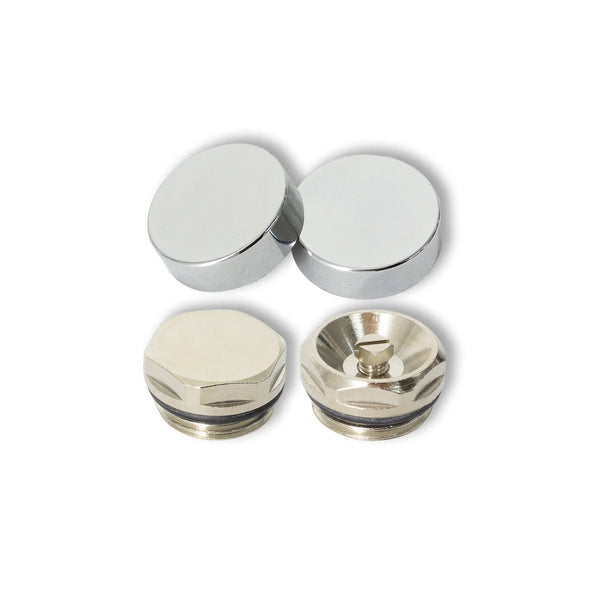
Mistake #3: Forgetting to Bleed the Towel Rail Properly
After installation and refilling the system with water, air inevitably gets trapped inside the towel rail. Since air rises, it collects at the highest point of the radiator, preventing hot water from circulating correctly.
The Consequence: An inefficient towel rail that is cold at the top and only warm at the bottom. The trapped air can also cause gurgling noises and lead to corrosion within your heating system over time.
How to Avoid It: Bleeding a radiator is simple. Once the system is refilled and the heating is on, use a bleed key to gently open the bleed valve at the top of the towel rail. You will hear a hissing sound as the trapped air escapes. Hold a cloth underneath to catch any drips. As soon as a steady stream of water comes out (with no sputtering air), close the valve. You may need to do this a couple of times in the first few days after installation.
Mistake #4: Incorrectly Balancing the Radiator
Every radiator in your central heating system needs to be 'balanced' to ensure they all heat up at a similar rate. This is controlled by the lockshield valve (the one usually covered by a plastic cap). When you install a new radiator, you must ensure it's properly balanced with the rest of the system.
The Consequence: An unbalanced system. Your new towel rail might get scorching hot very quickly while radiators further away from the boiler stay lukewarm. Or, the new rail might not get enough hot water and fail to heat up properly.
How to Avoid It: Before you remove your old radiator, fully close the lockshield valve and count exactly how many turns it takes (e.g., one and a half turns). Write this down! After installing the new towel rail, open the lockshield valve by that exact same number of turns. This will return it to its previous balanced state. If you've drained the whole system or are unsure, you may need to balance all your radiators, starting with the one closest to the boiler.
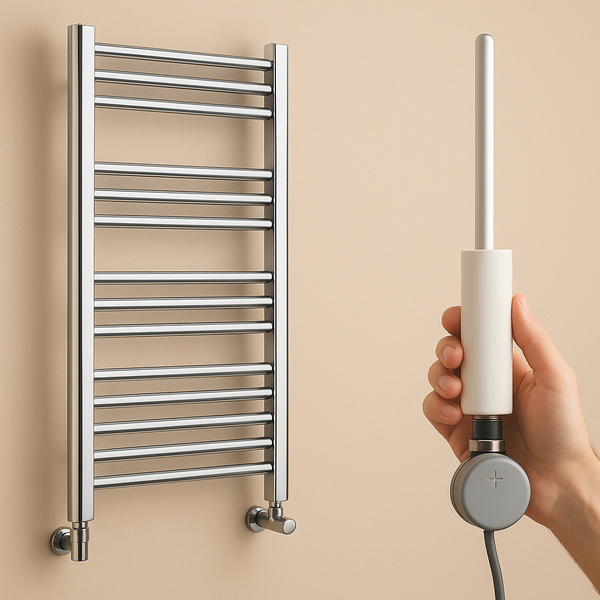
Mistake #5: Ignoring Electrical Safety Rules (For Dual Fuel & Electric Rails)
This is the most critical mistake of all. UK regulations for electrical work in bathrooms are incredibly strict. A dual fuel or fully electric towel rail is a fixed appliance and cannot simply be plugged into a socket.
The Consequence: A serious risk of electric shock, fire, invalidation of your home insurance, and breaking the law. This is not an area for DIY shortcuts.
How to Avoid It: You must hire a registered, qualified electrician. They will ensure the appliance is safely connected to a fused spur (outside of the main wet zones), that the circuit is protected by a 30mA RCD (a life-saving safety device), and that all work complies with Part P of the Building Regulations. They will provide you with an electrical safety certificate upon completion.
Installation Pitfalls FAQ
Got a lingering question? Here are our answers to common installation worries.
What happens if I don't bleed the towel rail correctly?
If you don't bleed it, or don't get all the air out, the towel rail simply won't work efficiently. The top bars will remain cold because the trapped air prevents hot water from filling them. This reduces its heat output and means you're not getting the full benefit of your new radiator.
Is a very small leak from a valve a big deal?
Yes. Any leak, no matter how small, must be fixed immediately. A 'weep' can quickly become a larger leak. Over time, it will cause water damage to your floor, potentially rust the valve and pipe, and can lead to a drop in your boiler's pressure. It's usually a sign that the joint needs to be re-sealed with more PTFE tape.
Why is only the very top bar of my towel rail getting hot?
This is a classic sign that your plumbing is the wrong way around. The hot water 'flow' pipe from your heating system is likely connected to the bottom of the rail, and the 'return' pipe is at the top. Hot water rises, so it's just flowing across the bottom and straight out of the return pipe. The pipes need to be swapped over so the flow enters at the top or bottom, and the return leaves from the opposite side.
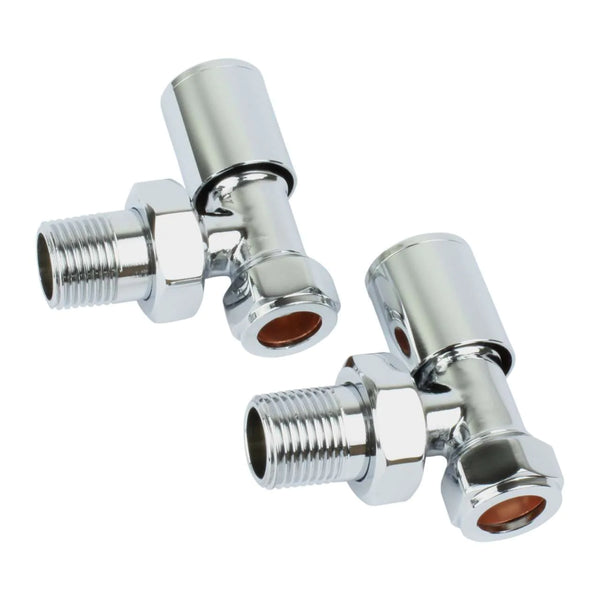
Can I just reuse my old radiator valves on the new towel rail?
While you technically can if they are the correct size and in good condition, we highly recommend installing new valves. A new towel rail is an aesthetic upgrade, and old, tired-looking valves can spoil the effect. More importantly, old valves are more prone to seizing or leaking. New valves are inexpensive and ensure a perfect, leak-free finish. All our towel rails have standard fittings to match our wide range of new valves.
Do I really need a professional for the electrical part of a dual fuel rail?
Yes, 100%. In the UK, it is a legal requirement under Part P of the Building Regulations. A qualified electrician is the only person who can safely and legally carry out this work and provide the necessary safety certificate. It's a matter of safety and law, not a choice.