
How to Hide Towel Rail Pipes: A 2025 Guide to a Clean Finish
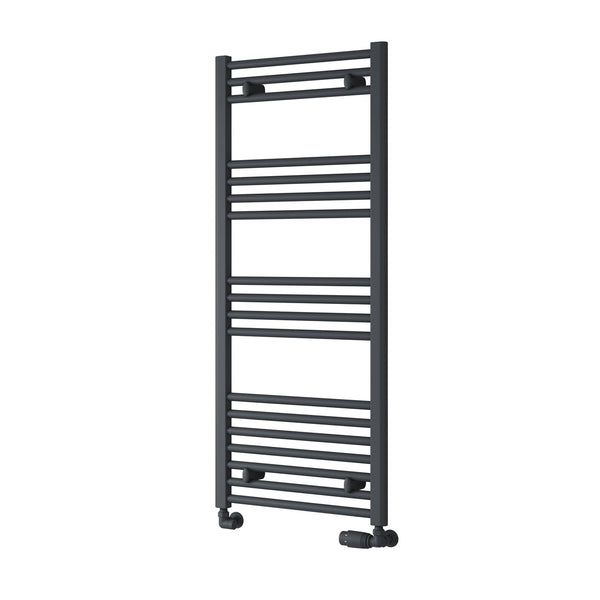
You've chosen a stunning designer heated towel rail, and it's ready to become the centrepiece of your new bathroom. But there's one small detail that can undermine the entire aesthetic: messy, exposed pipework. Copper pipes running along the wall or up from the floor can detract from the clean, minimalist look you want to achieve, turning a premium feature into a cluttered one.

So, how do you achieve that seamless, professional finish where the towel rail appears to float on the wall with no visible plumbing? The secret lies in planning. Concealing pipework is a key step in a high-end installation, creating a look that is deliberate, clean, and uncluttered. This expert guide from Company Blue will walk you through the professional methods used to hide towel rail pipes and the essential finishing touches that complete the look.
Recommend product: https://companyblue.co.uk/products/talon-snappit-pipe-covers
The Golden Rule: Plan Before You Plumb
Before we explore the methods, it's crucial to understand the most important rule: hiding pipes is not an afterthought. The best, most seamless results are always achieved when the pipework is planned during the "first fix" stage of a renovation or new build—that is, after the old suite is removed but before any new plastering, tiling, or flooring is installed. While it is possible to hide pipes in a finished room, the options are far more limited and disruptive.
Method 1: Chasing the Wall (The Ultimate Seamless Finish)
This is the definitive method for achieving a completely invisible pipe installation on solid walls.
What it is: "Chasing" is the process of cutting narrow channels into the surface of a solid (brick or blockwork) wall. A qualified builder or plumber will use an angle grinder or a specialised wall chaser to create two neat grooves from the floor or ceiling level up to the points where the radiator valves will sit.
How it works: The 15mm copper pipes are then recessed into these channels and securely clipped in place. The wall is then re-plastered over the top, and finally tiled or painted. The result is that the pipes are completely buried within the wall structure. All you see is a small piece of pipe emerging from the finished wall surface, ready to connect directly to the valve.
Pros:
- Creates a truly seamless, minimalist, and professional "floating" look.
- The pipes are completely hidden and protected.
Cons:
- It is the most disruptive, dusty, and labour-intensive method.
- It can only be done on solid walls (not internal stud walls).
- It must be done before the final wall finish (plastering and tiling) is applied.
Method 2: Using the Stud Wall Cavity (The Plasterboard Solution)
This is the equivalent of chasing for modern, internal plasterboard (stud) walls.
What it is: This method utilises the hollow space, or cavity, that exists between the two plasterboard sheets of a stud wall.
How it works: The plumber will run the copper pipes up inside this hollow cavity. This often involves carefully cutting a section of plasterboard away to gain access, drilling neat holes through the horizontal wooden noggins, and feeding the pipes through. The pipes are then brought out through the plasterboard at the precise connection points for the valves. The plasterboard is then repaired, skimmed, and decorated.
Pros:
- Achieves the same, completely invisible finish as chasing a solid wall.
- Significantly less dust and mess than cutting into brickwork.
Cons:
- Can only be done on hollow stud walls.
- Still requires the wall to be opened up and then professionally repaired, making it a job best suited for a full renovation.
Method 3: Boxing In (The Practical Retrofit Solution)
What if your bathroom is already fully tiled and decorated? Chasing the wall isn't a viable option. In this case, "boxing in" is the most practical solution.
What it is: This involves running the pipes on the surface of the wall as normal, and then building a neat housing or "box" around them.
How it works: A simple frame is typically built from timber battens around the pipes. This frame is then clad with plasterboard or a piece of waterproof tile backer board. This new "box" can then be tiled or painted to blend in perfectly with the surrounding wall. It can be a neat, low-profile box running along the bottom of a wall, or a vertical box in a corner.
Pros:
- Can be done in a fully finished and tiled room with minimal disruption.
- A very cost-effective and quick way to hide unsightly pipes.
Cons:
- It is a visual compromise. While neat, it does create a permanent box or ledge in the room which may not be desirable in a purely minimalist design.
The Finishing Touch: Pipe Sleeves & Collars
Even when your pipes are hidden inside the wall, a small section of copper pipe (usually 2-3 inches) must emerge from the wall or floor to connect to your valve. Leaving this exposed can spoil the final look. This is where the final finishing touches come in.
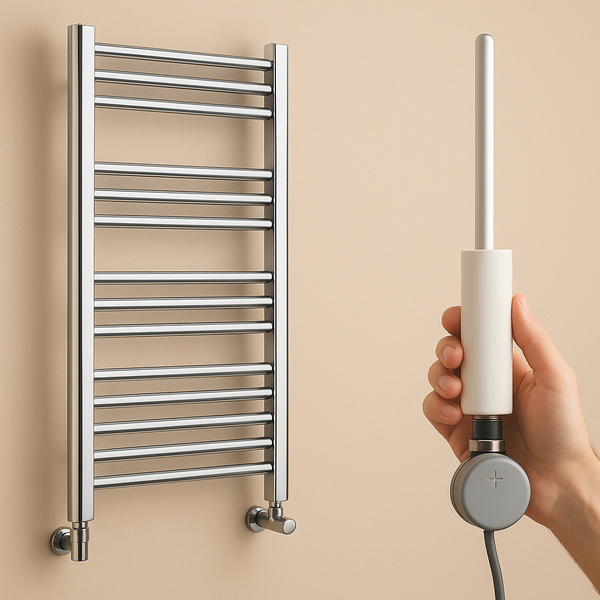
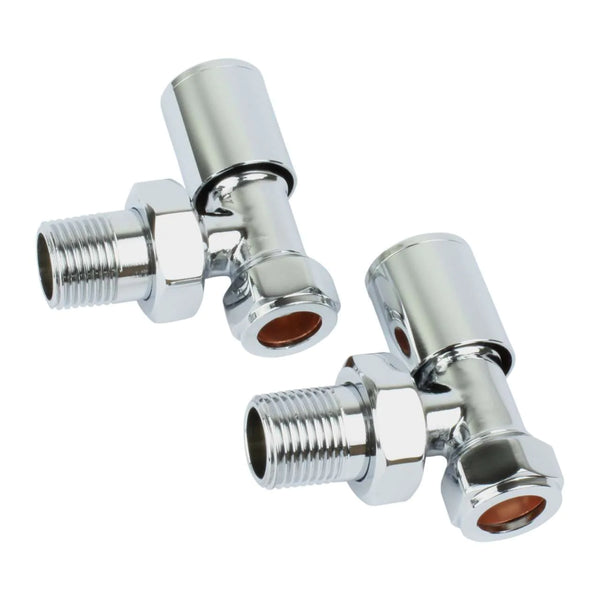
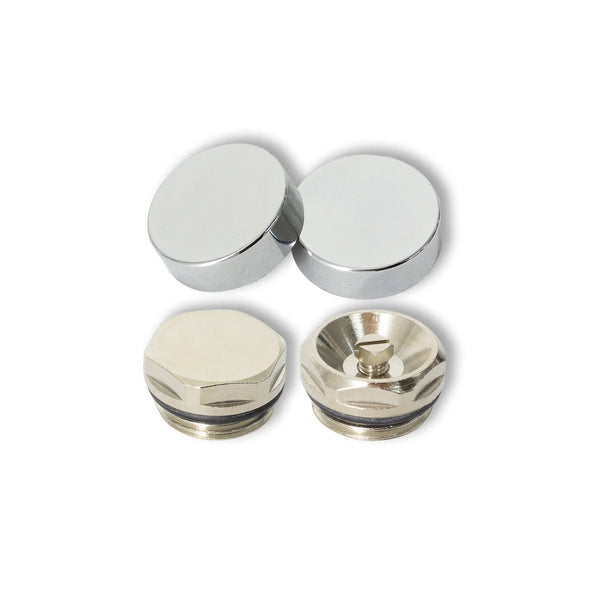
- Pipe Sleeves (or Pipe Shrouds): These are high-quality decorative metal tubes that are cut to length and designed to slide perfectly over the visible copper pipe. They are available in finishes like chrome, black, anthracite, and brushed brass to perfectly match your new valves and towel rail.
- Pipe Collars (or Rosettes): These are small, circular cover plates that fit snugly around the pipe sleeve. Their job is to cover the hole in the wall or floor where the pipe emerges, hiding any rough edges and creating a flawless transition.
Using a matching set of pipe sleeves and collars is the secret to elevating your installation from "good" to "showroom quality".
FAQ: Hiding Your Towel Rail Pipes
Here are our answers to the most common questions about achieving a clean finish.
Can I hide pipes in a bathroom that is already fully tiled?
Hiding pipes inside the wall would require removing tiles, chasing the wall, and then re-tiling, which is a major job. The most practical and cost-effective solution for a finished bathroom is to run the pipes neatly on the surface and then hide them by "boxing them in" and tiling or painting the box to match.
Does hiding the pipes in the wall cost a lot more?
Yes. The labour involved in chasing a solid wall, running the pipes, and then making good the plasterwork will add significant cost to your plumbing and renovation bill compared to simply running pipes on the surface. However, most people consider it a worthwhile investment for the high-end finish it creates.
What are 'pipe sleeves' and do I really need them?
Pipe sleeves are decorative covers that slide over the last few inches of visible copper pipe between the floor/wall and the valve. While not functionally necessary, they are an essential aesthetic component for a designer look. They cover the standard copper pipe with a beautiful finish (like chrome or black) that perfectly matches your valves and radiator, creating a seamless and deliberate finish.
Is it a DIY job to chase pipes into a wall?
No. Chasing walls requires specialised tools and an understanding of a building's structure. Cutting into the wrong wall or cutting too deeply can compromise the structural integrity. This work should always be carried out by a qualified and insured builder, plumber, or electrician.
My pipes come up from the floor. How can I make them look better?
This is the perfect scenario for using pipe sleeves and collars. The sleeves will cover the copper pipes from the floor right up to the base of your valves, and the collars will neatly hide the holes in your flooring. This is a very simple but incredibly effective way to transform the look of floor-mounted pipes.