How to Seamlessly Integrate Your New Towel Rail into Your Central Heating System
You’ve successfully mounted your new towel rail, the plumbing is connected, and the final aesthetic is just as you imagined. The hard part is over, right? Almost. The final, crucial stage is to ensure this new addition doesn't just look good, but works in perfect harmony with your entire central heating system. Seamless integration is about more than just connecting pipes; it's about making sure your new towel rail heats up efficiently without stealing heat from other radiators in your home.
This expert guide from Companyblue will walk you through the essential post-installation steps: proper filling, meticulous leak-checking, and the all-important art of "balancing" your system. Following these steps will ensure every radiator in your house, both old and new, performs at its best, giving you a warm, comfortable, and efficient home.
Prerequisite: This guide assumes the physical plumbing connections have been made correctly and safely, preferably by a qualified plumber. This article covers the final commissioning steps.

Stage 1: The 'First Fill' and The All-Important Leak Test
Before you even think about switching the heating on, you need to reintroduce water to the system slowly and safely, checking your work as you go.
- Check All Connections: Give every nut and joint you've worked on one final check to ensure it's tight.
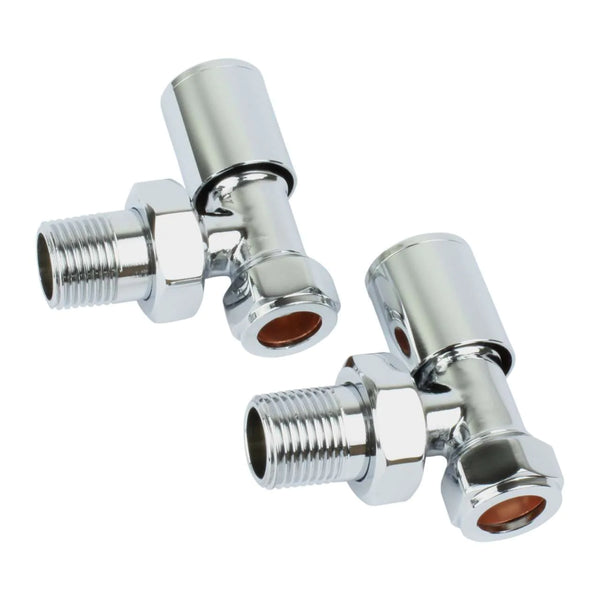
- Open the Valves: Fully open the new manual or thermostatic valve on your towel rail. Also, open the lockshield valve (the one with the cap) by the same number of turns you noted when you closed it.
- Slowly Refill the System: Go to your boiler and locate the filling loop (usually a silver braided hose with one or two taps). Slowly open the taps to allow water back into the system. You should hear water starting to fill the pipes and radiators.
- Watch the Pressure Gauge: Keep a close eye on the pressure gauge on your boiler. You are aiming for a pressure of around 1.5 bar when the system is cold (check your boiler manual for the exact recommendation). Do not over-pressurise the system.
- The Leak Test: This is the most critical moment. With the system now under pressure, go back to your new towel rail. Using a piece of dry kitchen roll, wipe around every single joint you have made. The paper will show up even the tiniest bead of moisture that your eyes might miss. If you find any leak, no matter how small, you must shut off the water, drain down, and remake the joint.
Stage 2: Bleeding for Maximum Efficiency
Air is the enemy of an efficient heating system. When you drain and refill the system, air gets trapped inside. As it rises, it will collect at the highest point, which is often your new towel rail.
Why it's essential: Trapped air creates a blockage, preventing hot water from filling the radiator completely. This results in the classic "cold top, warm bottom" syndrome, drastically reducing the heat output.
How to Bleed Your New Towel Rail:
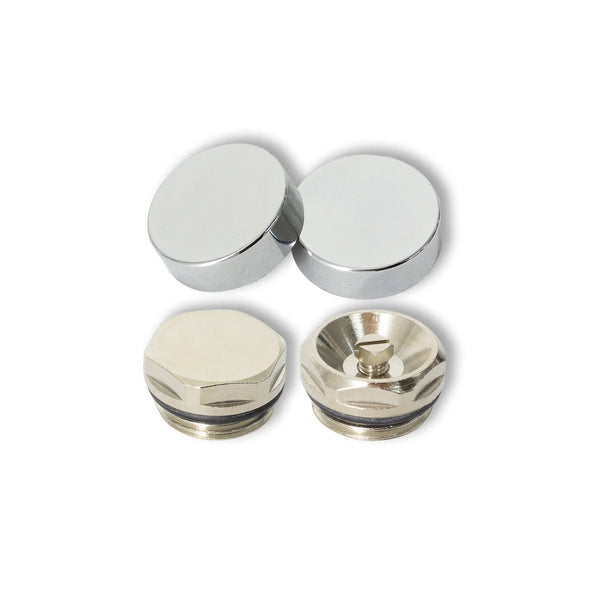
- With the system full of water, hold a cloth under the small bleed valve at the top of the towel rail.
- Insert your radiator bleed key and turn it anti-clockwise slowly.
- You will hear a hissing sound as the trapped air escapes.
- As soon as a steady, consistent dribble of water comes out, close the valve by turning it clockwise. Be careful not to overtighten.
- After bleeding, re-check your boiler pressure, as releasing air can cause it to drop slightly. Top it up if necessary.
Stage 3: Balancing for System Harmony
This is the step most DIYers miss, and it's the secret to a perfectly working central heating system. "Balancing" simply means adjusting the water flow to ensure every radiator in your house heats up at roughly the same rate.
Why it's essential: Water, like electricity, follows the path of least resistance. Without balancing, the hot water from your boiler will rush to the nearest radiators (often including your new towel rail), leaving radiators further away struggling to get hot. Balancing ensures every radiator gets its fair share.
How to Balance Your New Towel Rail:
- Turn off your central heating and allow all radiators to cool down completely.
- Go to every radiator in the house and fully open the thermostatic/manual valve. Do the same for the lockshield valve on the other side (you may need to remove a plastic cap and use a spanner).
- Turn the central heating back on.
- Go around the house and note the order in which the radiators heat up. The ones closest to the boiler will get hot first.
- Starting with the first (and fastest) radiator, turn its lockshield valve almost completely off, then open it by just a quarter of a turn. This restricts its flow.
- Go to the next radiator in the sequence and do the same, but perhaps open its lockshield valve a little more (e.g., half a turn).
- Continue this process, gradually opening the lockshield valve a little more for each radiator as you move further away from the boiler. Your new towel rail is now part of this sequence.
- This process of trial and error encourages more hot water to flow to the "slower" radiators. The goal is for all radiators to reach their full temperature at approximately the same time.
Stage 4: Final Check and System Protection
Once you are happy that the system is leak-free, fully bled, and reasonably balanced, it's good practice to add a dose of corrosion inhibitor to your system. This chemical liquid is added to the central heating water and helps to prevent the build-up of rust, sludge, and limescale, protecting all the metal components including your new towel rail and prolonging the life of your entire system.
FAQ: Post-Installation Problems
Having an issue after fitting your new rail? Here are some common troubleshooting questions.
My new towel rail gets hot, but a bedroom radiator is now cold. What's wrong?
This is the classic symptom of an unbalanced system. Your new towel rail is on a path of low resistance, so the hot water is rushing to it and returning to the boiler before it has a chance to reach the more distant bedroom radiator. You need to balance the system by restricting the flow to the towel rail using its lockshield valve, which will force more hot water towards the colder radiators.
How do I know if my system is properly balanced?
A perfectly balanced system is one where all radiators heat up at a similar, steady rate when the heating is switched on from cold. There shouldn't be any that get scorching hot in five minutes while others take an hour to warm up. It may take some fine-tuning over a few days to get it just right.
What is a 'lockshield valve' and how do I adjust it?
The lockshield valve is the one on the opposite side to the main on/off or thermostatic valve, and it usually has a smooth plastic cap. You remove the cap to reveal a small spindle. This spindle is used to control the maximum flow of water through the radiator for balancing. You adjust it with a small spanner or grips, turning it clockwise to restrict flow and anti-clockwise to increase it.
What is corrosion inhibitor and is it really necessary?
It is a chemical liquid added to the water in your central heating system. And yes, it is highly necessary. It prevents internal corrosion which creates black metallic sludge. This sludge can block pipes, damage pumps, and drastically reduce the efficiency of your boiler and radiators. Adding inhibitor after any plumbing work protects your entire system, both old and new parts.
The pressure on my boiler keeps dropping after the installation. What should I do?
A continuous drop in pressure means there is a leak somewhere in the system. Go back and meticulously check every joint on your new towel rail with dry paper. If you can't find any visible leak there, check the joints on all other radiators in the house. If you still can't find it, the leak may be in the pipework under the floor, at which point you should call a professional plumber to trace it.
