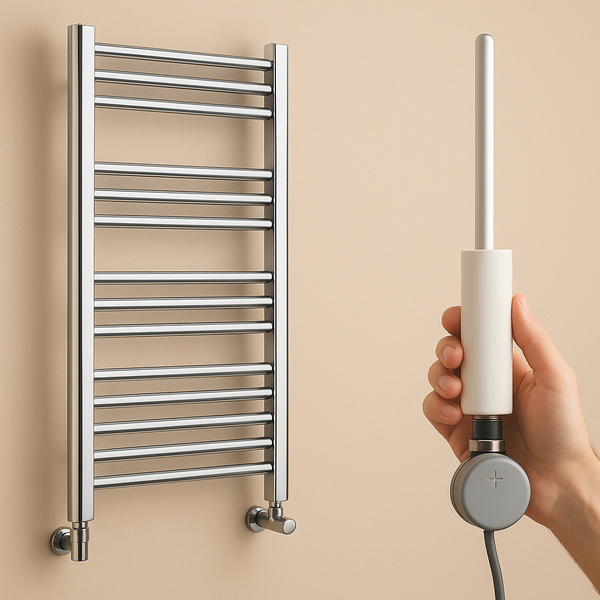
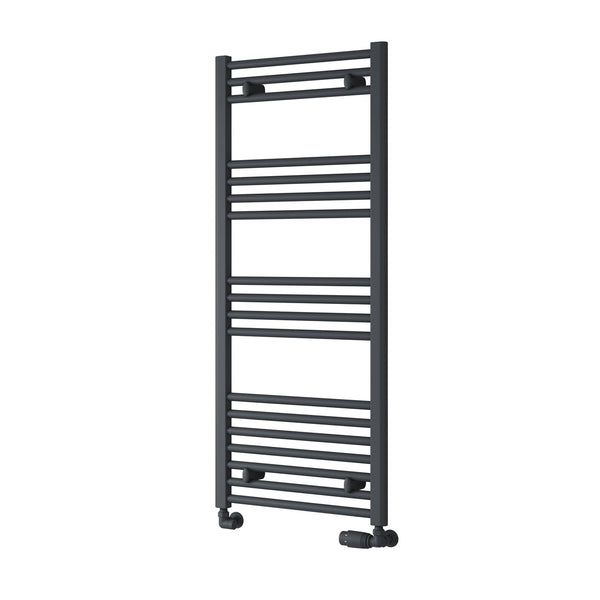

How to Fix Towel Rail Valves That Are Stuck or Dripping
A heated towel rail is only as good as its valves. These small but essential components control the flow of hot water, allowing you to manage the heat output. But when a valve gets stuck shut, it can leave you with a permanently cold towel rail. And when one starts dripping, it can cause panic and the threat of water damage. Fortunately, both of these common problems can often be fixed with a few simple tools and a little DIY know-how.

This troubleshooting guide from Company Blue will walk you through the safe, step-by-step process for tackling the two most frequent valve issues: the stuck valve that won't let your towel rail heat up, and the dripping valve that needs a quick tighten. Before you call a plumber, read on to see if it's a simple fix you can handle yourself.
Safety First & Preparation
Before you start, get prepared. This will make the job quicker, safer, and cleaner.
- Turn Off the Heating: If you're dealing with a leak, turn off your central heating to reduce the pressure and flow of water.
- Protect Your Floor: Place old towels or a bucket under the valve you are working on to catch any potential drips.
-
Gather Your Tools: You will likely need:
- Two adjustable spanners
- A dry cloth
- A pair of grips or pliers (for a stuck pin)
- PTFE tape (for a persistent leak)
Part 1: The Stuck Valve – "My Towel Rail is Cold!"
This is a very common problem, especially in autumn when you turn the heating on for the first time after summer. The pipes get hot, but the towel rail remains stubbornly cold.
The Likely Cause: The pin inside your Thermostatic Radiator Valve (TRV) has seized in the 'closed' position. Over months of inactivity, mineral deposits and grime can cause this small pin to get stuck down, preventing hot water from entering the rail.
The Easy Fix: How to Free a Stuck TRV Pin
- Turn the TRV to Max: First, turn the plastic thermostatic head to its highest number or setting. This releases any pressure on the pin.
- Remove the Head: Unscrew the large collar at the base of the plastic TRV head. It should unscrew by hand. Once loose, lift the head off the metal valve body.
- Locate the Pin: You will now see a small, raised metal pin in the centre of the valve body. A stuck pin will be pushed down and feel rigid. A working pin should have a little springiness and sit about 2-3mm proud.
- Free the Pin: Using the end of a spoon handle or another blunt object, gently press the pin down. It should pop back up. If it doesn't, give it a few gentle taps on the top. If it's still stuck, use a pair of grips or pliers to gently grip the sides of the pin and wiggle it up and down until it moves freely.
- Check and Reassemble: Once the pin is bouncing freely, screw the TRV head back on. The towel rail should now start to heat up when your heating is on.
Part 2: The Dripping Valve – "Help, My Valve is Leaking!"
A dripping valve needs immediate attention to prevent water damage. First, carefully dry the valve and identify exactly where the water is coming from.
Scenario A: Leak from the Spindle (under the TRV head)
The Cause: The packing gland, an internal seal around the valve's pin, has loosened slightly over time, allowing water to weep out from the top.
The Fix: Tighten the Gland Nut.
- Isolate the radiator by closing both valves if possible. If not, be prepared for a small amount of water.
- Remove the TRV head as described in Part 1.
- You will see a nut surrounding the pin you just exposed. This is the gland nut.
- Using an adjustable spanner, give this nut a very small clockwise turn – about an eighth to a quarter of a turn is usually enough. Do not overtighten it.
- Wipe the area dry, reassemble the head, and slowly open the valves. Watch closely to see if the leak has stopped.
Scenario B: Leak from the Large Coupling Nut
The Cause: The large nut connecting the valve to the towel rail has become loose, or the seal has failed.
The Fix: Tighten the Connection.
- This joint requires a 'two-spanner' approach to avoid damaging your pipework.
- Place one adjustable spanner on the main body of the valve to hold it steady. This is your 'counter-hold'.
- Place the second spanner on the large coupling nut that is leaking.
- While holding the valve body still with the first spanner, give the leaking nut a small clockwise turn with the second spanner to nip it up.
- If this doesn't fix the leak, the joint will need to be remade by a plumber or competent DIYer, which involves draining the rail and applying new PTFE tape to the joint.
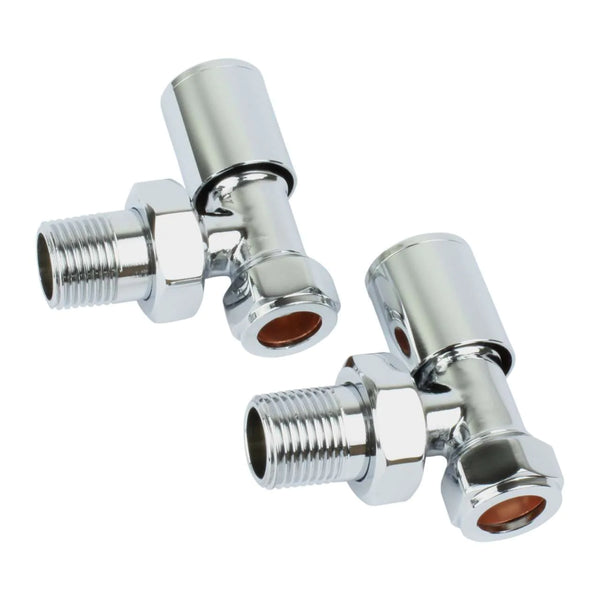
Shop all towel rail valves.
FAQ: Your Valve Troubleshooting Questions
Here are our answers to some common questions about fixing faulty valves.
Can I use WD-40 or lubricating oil on a stuck valve pin?
It's best not to. While it might seem like a good idea, these oils can degrade the small rubber seals (O-rings) inside the valve over time, potentially causing a leak later on. The gentle mechanical action of tapping and wiggling the pin is the safest and recommended method.
I've freed the pin, but the TRV still doesn't seem to work. What's next?
If the pin is moving freely but the towel rail still doesn't heat up (and other radiators are hot), it's possible the internal mechanism of the thermostatic head itself has failed. Luckily, you can usually buy a replacement TRV head without having to replace the entire valve body, which avoids any plumbing work.
How tight should I tighten the nuts when fixing a leak?
The key is 'just enough'. You should aim for 'finger-tight' first, and then use a spanner for a final quarter-turn. Overtightening can damage the brass fittings, strip the threads, or crush the internal olive, which can make the leak much worse. Always be gentle and check for leaks after each small adjustment.
My valve is very old and looks corroded. Should I still try to fix it?
If the valve is heavily corroded, green, or covered in limescale, it's often best to replace it rather than attempt a repair. Trying to turn a heavily corroded nut can cause it to shear off, leading to a much bigger problem. Replacing old valves is a standard job for a plumber and is a worthwhile investment.
What's the difference between the main valve and the lockshield valve?
The main valve (either manual or a TRV) is the 'control' valve you use every day to adjust the temperature. The lockshield valve, on the other side, is the 'balancing' valve. It's used during setup to ensure all radiators in the house get an even share of hot water and is then covered with a cap and left alone.