
How to Fix a Leaking Towel Rail: A Step-by-Step Troubleshooting Guide
There's nothing more alarming for a homeowner than the sight of a puddle forming under a radiator. A leaking heated towel rail can seem like a major disaster, sparking fears of ruined floors and costly plumbing bills. But before you panic, take a deep breath. The vast majority of leaks are caused by very common, minor issues with the valve connections that can often be fixed with a few simple tools and a bit of confidence.
This practical, step-by-step guide from Companyblue is designed to help you identify where the leak is coming from and walk you through the simple fixes. We'll show you how to tighten a loose connection, reseal a joint, and, just as importantly, when to recognise that it's time to call in a professional. Let's get that drip sorted.

Safety First: What to Do Immediately
As soon as you spot a leak, act fast to minimise any potential water damage.
- Turn Off Your Heating: Switch off your central heating system to stop the flow of hot water circulating.
- Catch the Drips: Place a bucket or a bowl directly under the leak. Lay down old towels or cloths around the area to soak up any water on the floor.
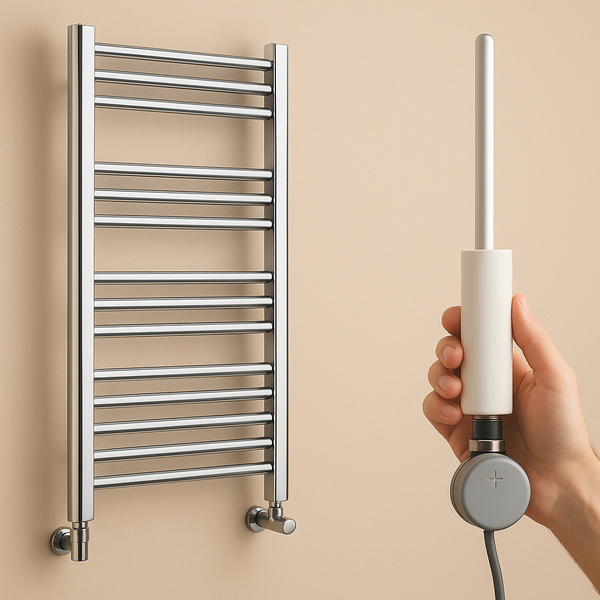
- Isolate the Radiator: If you can, shut off the water to just the towel rail. Turn the main temperature valve (the TRV or manual cap) clockwise to the 'off' position. Then, on the other side, pull off the plastic cap of the lockshield valve and use a spanner to turn the spindle fully clockwise. This will stop more water from entering the rail.
With the situation under control, you can now investigate the source of the leak.
Step 1: Identify the Source of the Leak
Carefully dry the entire towel rail and its valves with a cloth or kitchen roll. Watch closely for a few minutes to see exactly where the first new drop of water appears. Leaks almost always come from one of four places.
Step 2: Fix the Leak Based on its Location
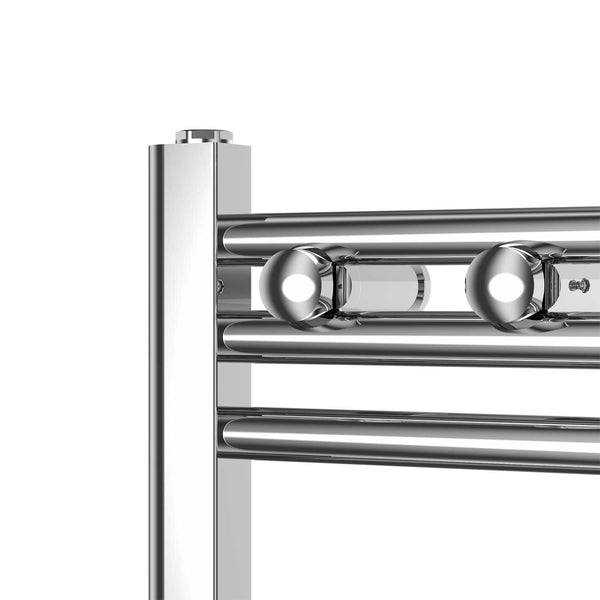
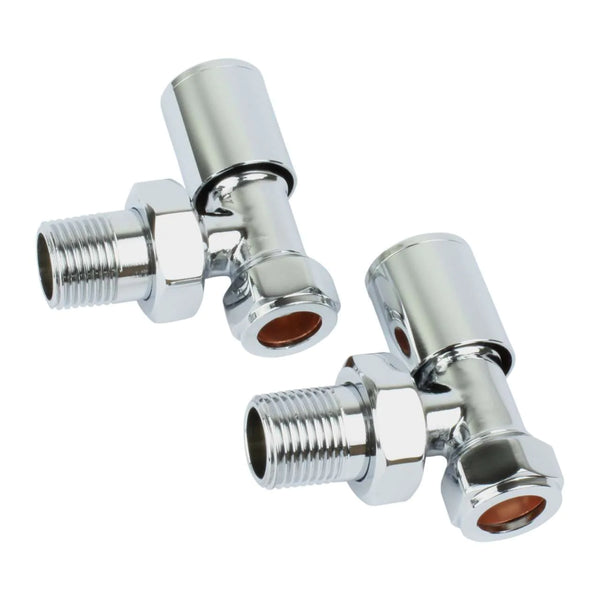
Leak #1: Dripping from the main valve spindle
The Problem: Water is weeping out from underneath the plastic cap or the turning mechanism of the main valve (the part you turn).
The Reason: The seal around the valve's internal spindle has loosened over time.
The Easy Fix: Tighten the Gland Nut.
- If it's a TRV, unscrew the head to reveal the valve body underneath. If it's a manual valve, you may just need to pull the cap off.
- You will see a small nut (called the gland nut or packing gland) right where the spindle enters the main valve body.
- Take an adjustable spanner and give this nut a very small turn clockwise – usually no more than a quarter of a turn. This tightens the internal seal. Be gentle; overtightening can damage the valve.
- Wipe the area dry and watch to see if the dripping has stopped. In 9 out of 10 cases, this will solve it.
Leak #2: Dripping from the large coupling nut
The Problem: Water is leaking from the large nut that connects the valve body directly to the towel rail itself.
The Reason: This nut has either worked itself slightly loose, or the internal 'olive' (a small brass ring that creates the seal) is not seated correctly.
The Fix: Tighten the Nut, then Remake the Joint if Needed.
- Take two adjustable spanners. Use one to hold the main body of the valve steady (to prevent putting pressure on the pipework).
- Use the second spanner to tighten the large coupling nut with a small clockwise turn.
- If the leak persists, the joint may need to be remade. This will require draining the towel rail, undoing the nut completely, wrapping the threads of the male adapter with PTFE tape, and then re-tightening the nut to create a new, perfect seal.
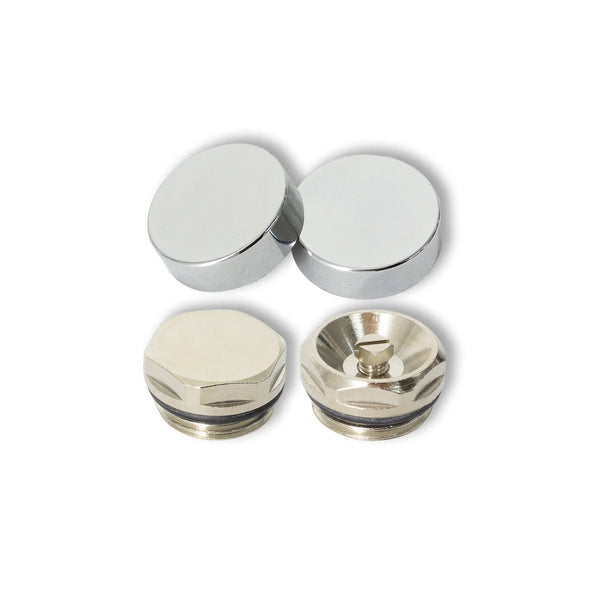
Leak #3: Dripping from the bleed valve or blanking plug
The Problem: A slow drip is coming from the small bleed valve or the blanking plug at the top of the towel rail.
The Reason: The valve/plug isn't tightened sufficiently, or the small rubber O-ring inside has perished or is not seated correctly.
The Fix: Tighten and Check the O-Ring.
- Using a bleed key or a small spanner, give the bleed valve or plug a gentle clockwise turn to see if it just needs nipping up.
- If it still leaks, you may need to drain the rail, unscrew the plug completely, check that the little rubber O-ring is present and not damaged, and then re-seal the threads with a few wraps of PTFE tape before screwing it back in firmly.
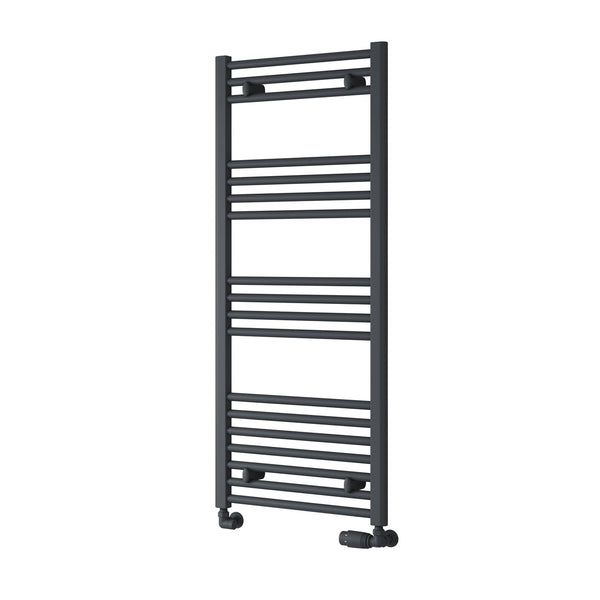
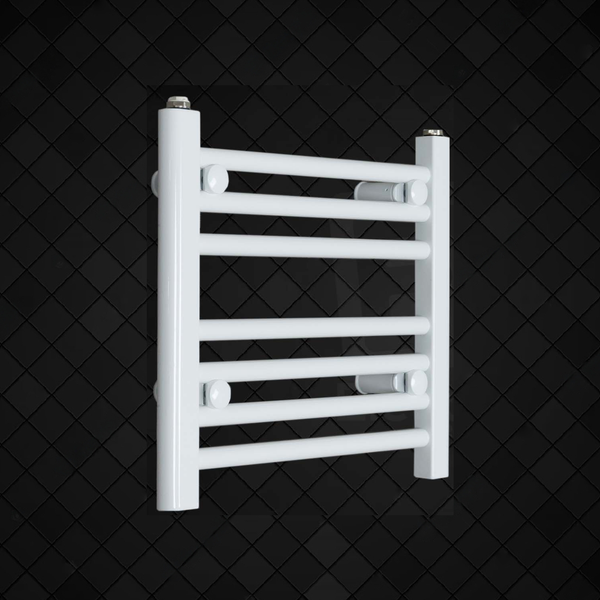
Leak #4: Water coming from the body of the towel rail
The Problem: You can see water weeping from a seam or a pinhole in one of the horizontal or vertical bars, not from a connection point.
The Reason: This is a sign of internal corrosion, which has eventually eaten through the metal. This is most common in very old radiators or systems where a corrosion inhibitor has not been used.
The Fix: Replacement is Required. Unfortunately, this type of leak cannot be safely repaired. A pinhole leak is a sign that the integrity of the metal is compromised. You will need to isolate and drain the radiator immediately and purchase a replacement. This is a good opportunity to perform a system flush and add a corrosion inhibitor to protect your new towel rail from the same fate.
FAQ: Your Leak-Fixing Questions Answered
Here are our answers to some common concerns when dealing with a leak.
Is a very small drip or 'weep' really a big deal?
Yes. You should never ignore any leak, no matter how small. A tiny drip can cause significant, hidden damage over time to floorboards, subfloors, and ceilings below. It can also cause your boiler to lose pressure, affecting its performance. Small leaks often become big leaks without warning, so it's always best to fix it immediately.
What is a 'gland' on a radiator valve?
The 'gland' is a type of seal that wraps around the movable spindle inside the valve. It's designed to stop water from escaping up the shaft as you turn it. The 'gland nut' is what you tighten to compress this seal. Tightening this nut is the most common fix for a valve that's leaking from the spindle.
Can I use a sealant paste or putty to fix the leak?
No, you should never use external sealants like silicone, putty, or epoxy on a pressurised heating system. These are temporary 'bodges' that are not designed to hold back hot, pressurised water and are very likely to fail, potentially causing a much worse flood. The only correct way is to fix the mechanical joint itself.
I've tightened the nut as much as I can, but it's still leaking. What now?
If tightening a connection doesn't stop the leak, it means the seal itself has failed. At this point, you need to drain the radiator, fully undo the leaking joint, clean the components, and remake the seal using fresh PTFE tape on the threads. If you're not comfortable doing this, this is the perfect time to call a plumber.
My towel rail is brand new from Company Blue and it's leaking. What should I do?
If the leak is coming from the body of the rail itself (a pinhole leak), this would be a very rare manufacturing fault, and you should contact us immediately for a replacement under warranty. However, 99.9% of leaks on new installations are due to the plumbing connections not being sealed or tightened correctly. Please follow the steps in this guide to check the valve and joint connections first, as this is almost always the source of the issue.