
A Guide to Replacing Your Old Radiator with a New Towel Rail
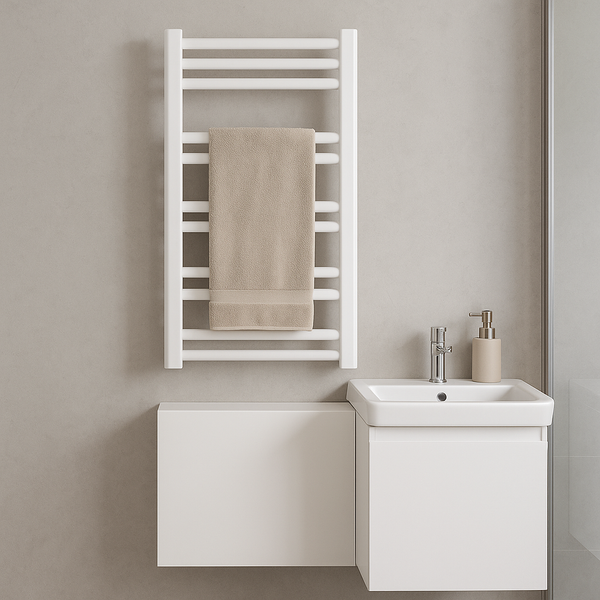
Is that old, tired radiator taking up valuable wall space and offering little more than a place for dust to gather? Upgrading your bathroom or kitchen heating is one of the most effective ways to enhance both the form and function of the space. Replacing an old radiator with a stylish and practical heated towel rail is a transformative project that brings immediate benefits, from the luxury of warm towels to a more modern aesthetic.
At Companyblue, we know that with the right guidance and tools, this is a project many UK homeowners can tackle themselves. This comprehensive guide will walk you through every step of the process, from choosing the perfect model from our in-stock range to tightening the final valve. Let's get that old fixture off the wall and a beautiful new towel rail in its place!

Disclaimer: This guide is for informational purposes. Plumbing and heating systems can be complex. If you are not confident in carrying out these steps, we strongly recommend hiring a qualified professional. Always ensure your central heating system is fully powered down and cool before starting any work.
Step 1: Preparation is Everything
Before you touch a single pipe, proper planning will save you time, money, and a world of potential headaches. Don't skip these crucial first steps.
A. Measure, Measure, Measure!
You need two key measurements from your old radiator:
- Pipe Centres: This is the distance between the centre of the two pipe inlets on your radiator. Measure this carefully as finding a towel rail with the exact same pipe centres can make the job much easier.
- Overall Dimensions: Note the height and width of your old radiator. This will help you choose a towel rail that not only fits the space but also provides adequate heat output.
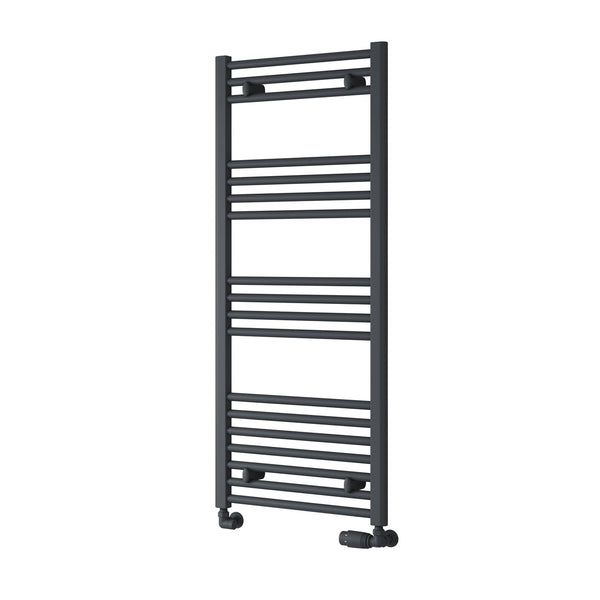
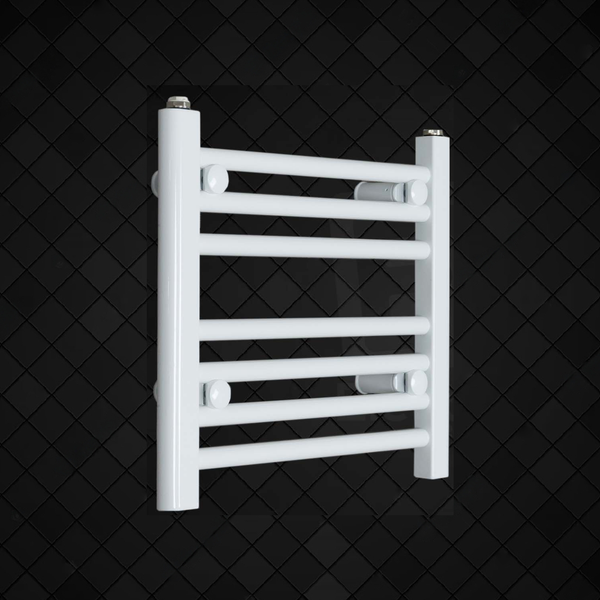
B. Choose Your New Towel Rail
This is the exciting part! Based on your measurements, browse our extensive range of heated towel rails. Consider:
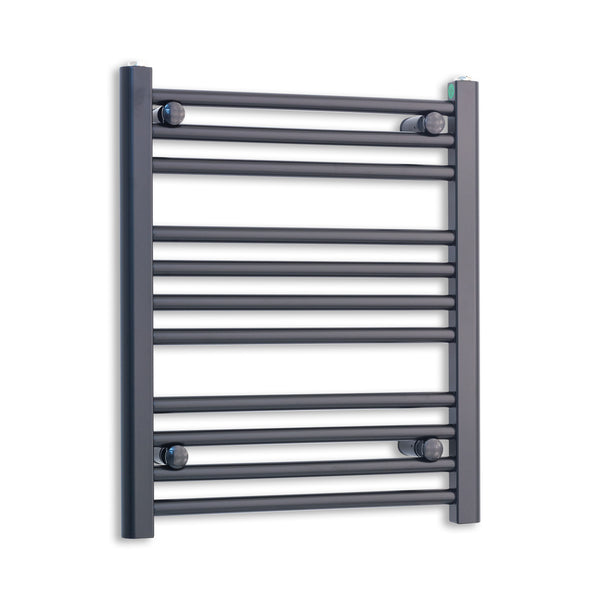
- Style & Finish: Do you want a modern, angular look in anthracite, or a classic, curved design in chrome? We have a style to match every decor.
- Heat Output (BTU): Ensure your new towel rail has a BTU rating suitable for your room size. A towel rail's primary job is to heat towels, but a good one will also act as an effective radiator. Our product descriptions always include the BTU rating.
- Size: If you can't match the pipe centres exactly, don't worry! Standard plumbing fittings allow for some adjustment, but getting close will simplify the installation.
C. Gather Your Tools & Materials
Having everything on hand before you start is essential. Here’s a typical checklist:
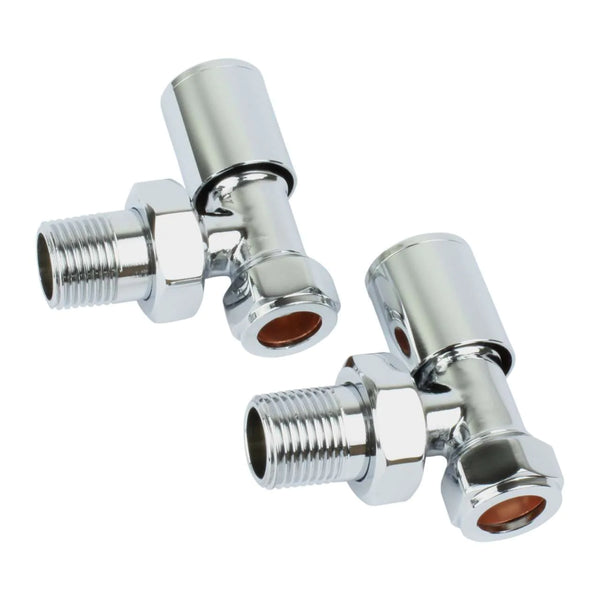
- Your new towel rail and valves from Company Blue
- Adjustable spanners or grips (a set of two is ideal)
- Radiator bleed key
- A bucket and old towels or dust sheets to catch water
- A drill with appropriate bits for your wall type
- Wall plugs and screws (often supplied with the towel rail)
- PTFE tape (plumber's tape) for sealing threads
- A spirit level
- A tape measure and pencil
Step 2: Draining Down the System
You can't remove a radiator full of water! You have two options: drain the entire central heating system or, if you have them, use isolation valves to drain just the single radiator.
- Turn Off the Heating: Switch off your boiler and any central heating programmer. Let the system cool down completely.
- Isolate the Radiator: If your radiator has lockshield and thermostatic valves, you may be able to isolate it. Turn the thermostatic valve (the one with numbers) to '0' or 'off'. On the other end, pull off the plastic cap of the lockshield valve and use a spanner to turn the square spindle clockwise until it stops. Count the number of turns so you can open it correctly later.
- Drain the Radiator: Place your bucket under the valve. Using your spanner, slowly loosen the nut that connects the valve to the radiator (not the pipe). Water will start to drip out. Open the bleed valve at the top with your bleed key to let air in and speed up the draining process. Once empty, close the bleed valve.
If you don't have isolation valves, you will need to drain your entire central heating system via the drain-off cock, usually located on a ground-floor radiator or near the boiler.
Step 3: Removing the Old Radiator
With the radiator empty, it's time for it to come off the wall.
- Fully undo the nuts connecting both valves to the radiator. Have your old towels ready for any residual water.
- Carefully lift the radiator upwards and off its wall brackets. It might be heavier than you think, so consider asking for help.
- Temporarily place rags or small bags over the open pipe ends to prevent debris from falling in.
Step 4: Fitting Your New Towel Rail
Now for the main event! This is where your careful measurements pay off.
- Remove Old Brackets: Unscrew the old radiator brackets from the wall and fill the holes if they won't be reused.
- Position New Brackets: Hold your new towel rail against the wall in the desired position. Use your spirit level to ensure it's straight. Mark the positions for the new mounting brackets with your pencil.
- Drill and Fix: Drill the holes, insert your wall plugs, and securely screw the new brackets to the wall. Ensure they are firmly attached and can take the weight of the towel rail when full of water.
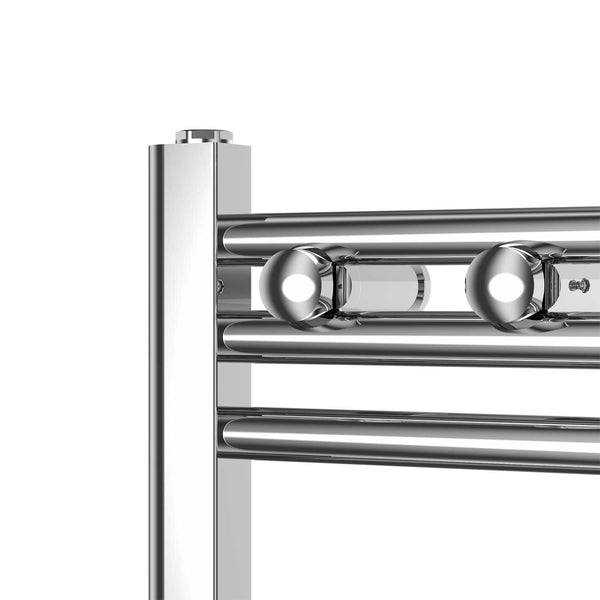
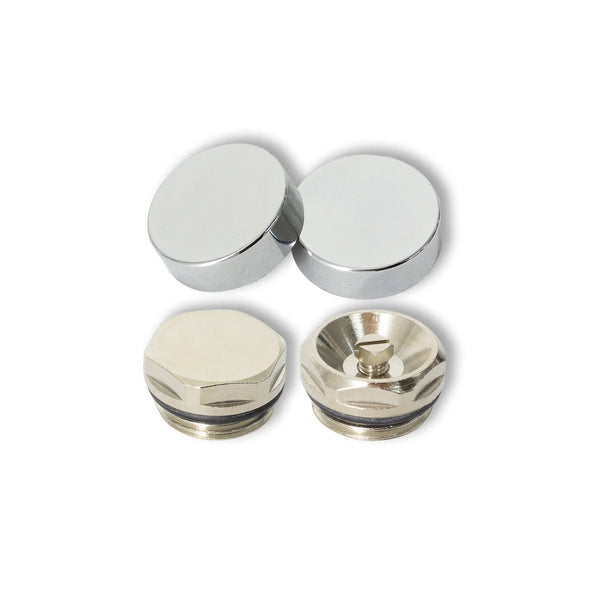
- Prepare the Towel Rail: Wrap a few turns of PTFE tape clockwise around the threads of the new valves before screwing them into your towel rail. Tighten them with a spanner, but don't overtighten. Fit the blanking plug and bleed valve into the top openings.
- Mount the Towel Rail: Hang your new towel rail on its brackets and check it's level again.
- Connect the Pipes: This is the most critical plumbing step. Align the new valves with your existing pipework. If your pipe centres didn't match perfectly, you might need to gently adjust the copper pipe or use angled fittings. Connect the nuts from the pipework to the new valves and tighten them securely.
Step 5: Refilling and Checking for Leaks
The moment of truth! It's time to reintroduce water to the system.
- Close the Bleed Valve: Make sure the bleed valve on your new towel rail is closed (turn it clockwise).
- Re-pressurise the System: Slowly open the lockshield valve (turning it anti-clockwise by the same number of turns you noted earlier) and the thermostatic valve. If you drained the whole system, you'll need to use the filling loop on your boiler to bring the pressure back up (usually to around 1.5 bar, but check your boiler manual).
- Bleed the Air: As the rail fills with water, you'll hear it gurgling. Air will collect at the top. Hold a cloth under the bleed valve and gently open it with your bleed key. Hissing air will escape. As soon as a steady stream of water comes out, close it.
- Check for Leaks: Meticulously check every new joint you have made for any signs of weeping or dripping. A small leak now can cause big problems later. If you find a leak, you may need to drain down again and tighten the joint further, perhaps with more PTFE tape.
- Power Up and Test: Once you're confident there are no leaks, turn your central heating back on. Your new towel rail should start to heat up. You may need to bleed it one more time as any remaining air is dislodged.
Congratulations! Step back and admire your work. You've successfully upgraded your heating and brought a new level of comfort and style to your room.
Troubleshooting & Top Tips FAQ
Even the best-planned projects can have a hiccup. Here’s a quick guide to common issues and pro tips.
My new towel rail isn't heating up. What's wrong?
This is almost always due to trapped air. The towel rail is the highest point, so air naturally collects there. Turn the heating off, wait a few minutes for the water to settle, and bleed the rail again using your bleed key until only water comes out. Also, double-check that both the thermostatic and lockshield valves are fully open.
There's a small, persistent drip from a joint. Can I ignore it?
No, never ignore a leak, no matter how small. You'll need to drain the rail again, undo the leaking joint, and re-apply fresh PTFE tape (about 5-6 wraps) in a clockwise direction before re-tightening. Ensure the threads on both the valve and the rail are clean and not cross-threaded.
My pipe centres don't match the new rail. What do I do?
If the difference is small (a few millimetres), you may be able to gently flex the copper pipes into position. For larger gaps, you can buy radiator valve extensions or offset connectors which are designed for this purpose. For major changes, it's always best to call a qualified plumber to alter the pipework professionally.
What is a 'lockshield' valve and why is it important?
The lockshield valve 'balances' the radiator within the whole central heating system. It controls the maximum flow of water returning from the radiator. By re-opening it to its original position (using the turns you counted), you ensure your system remains balanced and all radiators in your house heat up evenly.
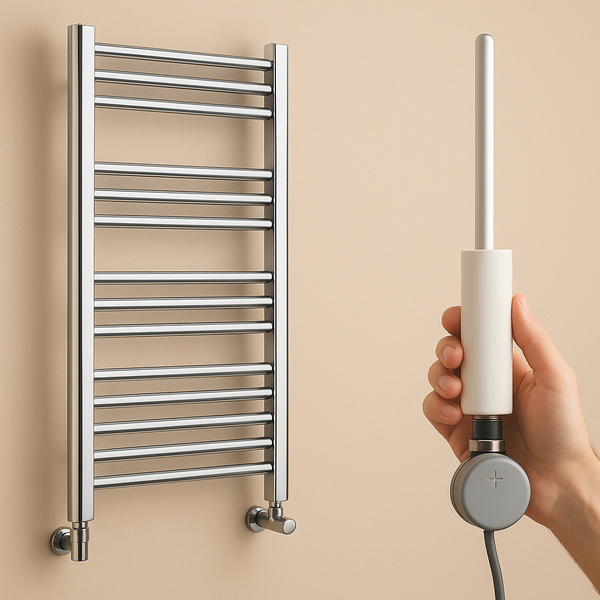
Can I fit a dual fuel element to this towel rail later?
Absolutely! Most of our standard towel rails are dual fuel compatible, making for a great future upgrade. To do this, you'll need a special 'T-piece' to replace one of the standard valve connections. This allows you to install an electric heating element for summer use when your central heating is off. We stock all the necessary components at Company Blue.